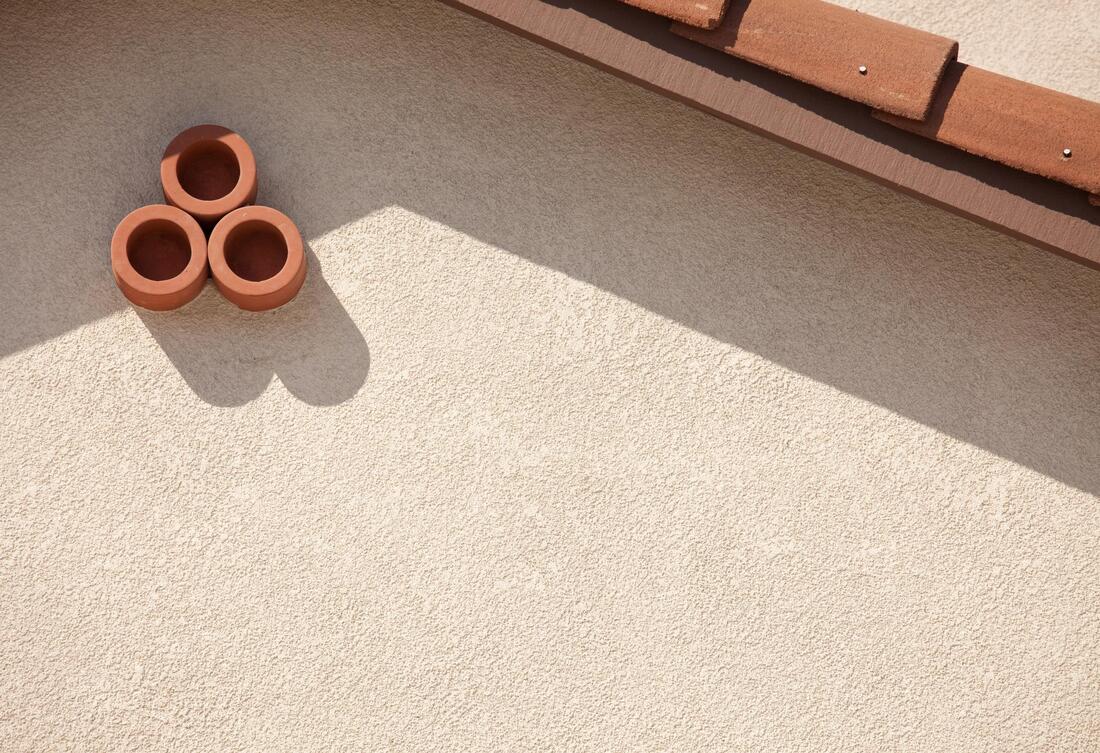


Stucco
Repair
When you begin a stucco repair job, you want to have an idea where it begins and where it ends. We're here to walk you through the entire procedure so you know what to anticipate from start to finish.

Stucco repairs are available at your request, you can contact us and we will schedule an appointment to have your stucco exterior walls repaired. Your walls require an annual maintenance service which will assist in covering up at cracks or damages that have been endured over time. Our team will arrive on time for the appointment and have the repairs completed once a thorough inspection of the walls has been conducted. Once we have completed the repair of your stucco walls, we will then inform you of this and answer any questions you may have about the repairs and walkthrough all the work that has been completed. We will also keep you informed of what to look out for so you don't end up with a costly problem in the future.
How it works
1
Face-to-face consultation.
2
Detailed plan with estimates.
3
Scheduling and kick off.
4
Full post-remodel inspection.
5
Completion, final payment, and your satisfaction!
Stucco Repair Causes
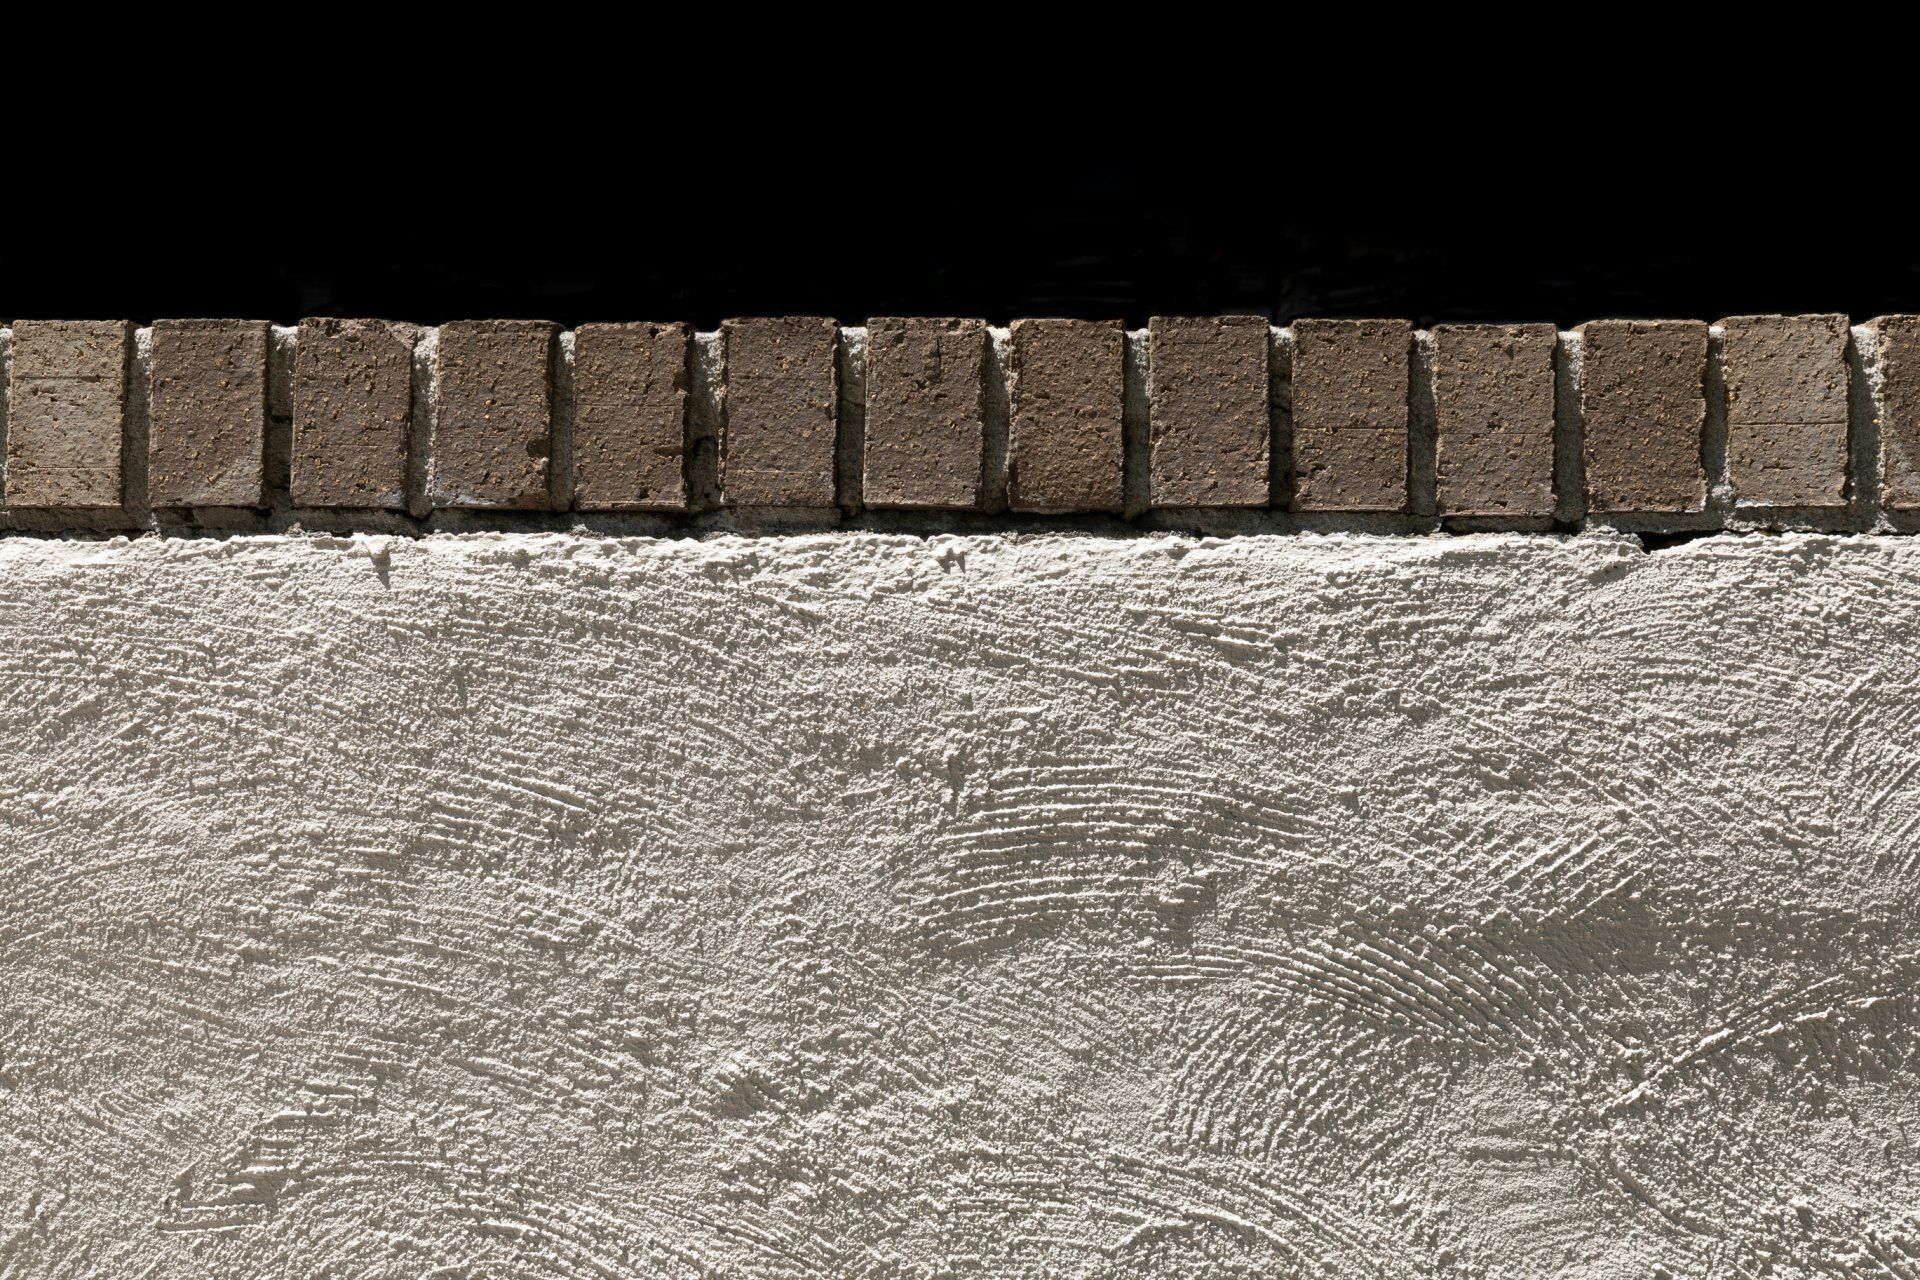
As soon as any concerns about repairs to your stucco walls become apparent, repairs should be carried out immediately as the damage will only become worse as time passes. Due to the building settling over time or direct damage to the exterior coating from a car for example, large cracks or holes can form in your stucco siding. When water can make its way through the protective layer, stucco can begin to crack and collapse, whether forming an opening in the stucco itself or from under the surface itself. Wood, which is widely used as a base under stucco especially here in Arizona, is a common structural element. At or below ground level, the wood may trap moisture within it and draw it away from the original cause of the problem. For building materials, such as brick or stone, stucco may also be added over the top of it and can also be affected by moisture penetration.
Stucco Wall Repair
We do stucco exterior wall repair services. Not many contractors can provide repair service as the concrete styled finish can create its own cracks as is. These cracks may be identified as problems however, only a professional knows when the crack is an issue or part of the job. These repairs are completed by a team of skilled and experienced contractors. Our team works hard at ensuring our clients stucco siding is taken care of and all the damages and cracks are repaired. We will remediate your stucco until it is back to the standards it needs to be.
Determining The Type of Stucco Repair Needed
Different levels of stucco repair may be required, based on the level of damage. An additional layer of finish coat or sometimes even just a coat of paint can seal small hairline cracks. Materials like caulk are not great repair methods for stucco siding. Depending on the texture of the finish coat determines the decision whether to patch or repair the stucco walls entirely. Repairs made to a smooth finished surface (not as textured), particularly if multiple have happened, will be way more noticeable and it may be better to cover the entire surface with a new layer of finish coat. Contrarily, hiding patches of repair work on a textured surface will not be as noticeable so a completely new finish coat may not be necessary. We will let you know the best option for you when we arrive for your consultation and inspection.
Preparation For Repair
For the stucco that needs to be repaired, planning should start with the removal of all the damaged stucco. As it has already collapsed, any that is loose should be taken off as its structure has been compromised (it should not be patched over). The replacement of deteriorated materials can apply to wood laths or other surfaces which may also have been affected. The construction of new mesh over damaged laths may be a preferred route to take. To extract oil, paint, or plant growth, all surfaces should be washed to give a clean slate to work with and promote proper adhesion. To encourage the correct binding for the new stucco application, if there are stone or brick mortar joints then they should be scored to a depth of about 5/8”. In addition, old stucco finish should not be overlapped with the new stucco.
How Do I Know When To Repair My Stucco Walls?
If there is any notice of extremely large cracks that exceed 1/8th of an inch then you know that this crack needs to be taken care of. Stucco finish does have visible cracks upon application of the finish, however when identified the crack needs to be a true threat before it requires to be repaired. You can rest assured knowing that our team can identify these matters and have them fixed accordingly. Our team loves caring for our clients stucco and ensuring that it is in a well-kept condition for many years to come. Our stucco application and techniques are top notch and will leave you happy and satisfied.
Stucco Maintenance
When you are already in a stucco home, in order to receive the most benefits of this exterior, you need to take care of its maintenance needs. There is routine work that you can accomplish yourself to ensure a long-lasting stucco finish. With a garden hose and a medium-bristle brush, get rid of any soil and contaminants that have collected on the stucco. As it can hurt the siding, using a pressure washer at a high setting to clean is not advised. Combine three parts water with one part bleach that doesn't contain chlorine and simply apply it to the affected area in order to get rid of any mold that may be present. Before rinsing the solution off, allow it to sink in the affected area to fully break up the mold. Dousing your stucco siding with white vinegar will remove efflorescence, which is A light blemish which can sometimes form on stucco subjected to sustained dampness. Let the vinegar sit for several minutes before rinsing it off. Repeat this process multiple times to until it clears the blemish altogether if needed. Also consider the fact that if you are no longer satisfied with the color, stucco can be painted, and you'll be able to most likely complete the project yourself to save you some money. The stucco siding on your home will retain its distinct look for many years, with a little care and knowhow.
Stucco finishes are one of the lowest maintenance type of wall finishes you will encounter. A great stucco wall finish has a lower cost over time which provides for affordable annual maintenance. It is a great investment as the finish lasts longer and the maintenance costs are much lower than others because of it. We can provide our clients with their routine maintenance for their stucco walls which helps prevent bigger and more expensive repairs. Whether you need to have your stucco repaired, redone or replaced we do it all for our customers and their satisfaction.
Ways to Prevent Stucco Repairs
Moisture from groundwater or irrigation/draining problems can be extremely troublesome to your stucco house. From the moist wood lath underneath, the stucco can delaminate and when the wood starts rotting, the stucco can continue to deteriorate and detach from the house. Harm to the stucco siding itself results in more penetrations of moisture that speeds up the degradation of both the finish and the substrate. Downspouts, gutters, and any other ways of steering water away from your home can prevent further harm. Water will spill on stucco walls without adequate guttering which will intensify the degradation of the stucco. It will also be important to think about grading the landscape around the building to channel water away.
Stucco Repair Consultation
Once you reach out to us and inform us you wish to have your home assessed for stucco, we will have one of our contractors come out to provide a consultation with you. We will provide a full existing stucco inspection and consultation that is clearly broken down for you. We ensure there is transparency when it comes to our communication with our clients; this leaves us available for our clients to understand the service and the processes behind the service we render for them. It also keeps both us and the customer on the same page and sets proper expectations for work that needs to be completed and the cost.
Stucco Repair Process
If you would like to learn about the process that we go through to fix up your stucco house, then you are in the right place. You can even use this guide to complete the stucco repair on your own if you wish to. Stucco siding is an easy to maintain and long-lasting coating when it is correctly applied. The same stucco walls lasting one hundred years or so is not an unusual sight. However, when abrasions, holes, or large cracks in it start to occur, it is immediately time to make repairs, before the damage grows and your costs along with it. So, continue reading to find out how to make stucco repairs that will stand the test of time and look great.
Weather Considerations before starting the stucco repair
If stucco remains wet during temperatures that are freezing it can harm it. Before starting your stucco repair work, wait for the nighttime temperatures in your area to remain above 40 degrees Fahrenheit. Hot and dry windy weather can also disrupt your work as it can suck the moisture out while it is curing. So here in Mesa, AZ it is not the best time to do the repair work in the winter or summer time, generally spring or early fall is best when it is neither too hot nor too cold. Also try to work when the wall your working on is in the shade to help ensure the stucco does not dry too quickly. You can also help keep the area moist while you are in between stucco applications by covering it with a sheet of plastic to help it not dry out.

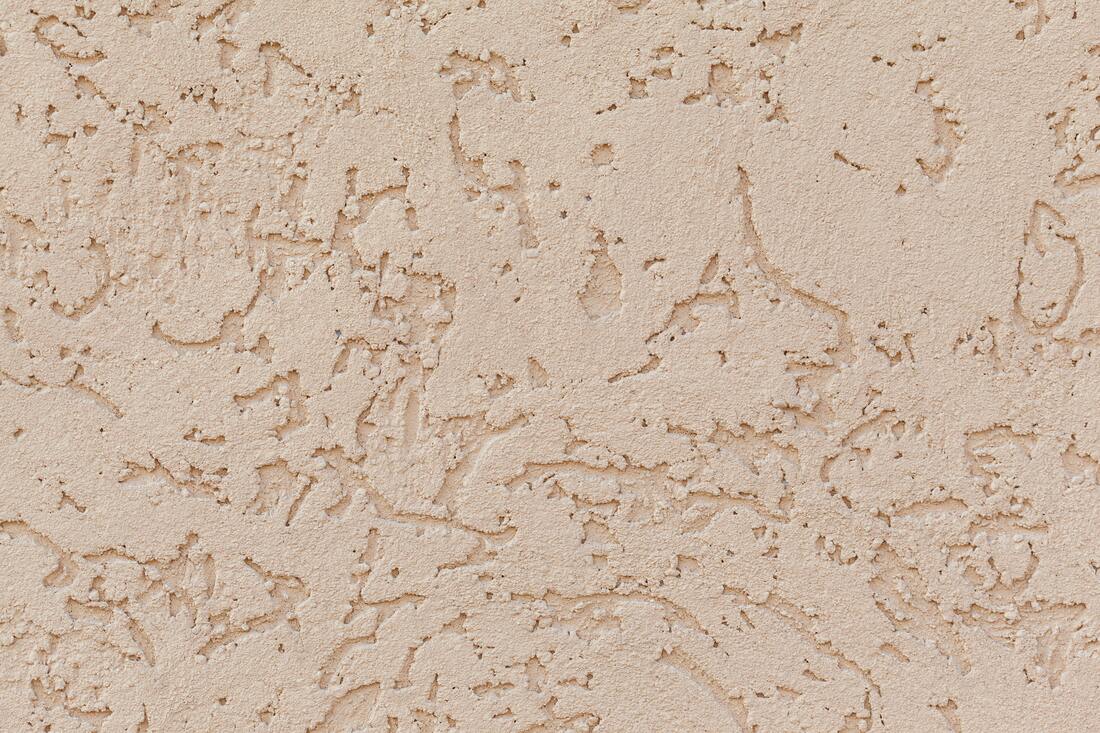
Coating the stucco after finishing
No patchwork is going to completely equal the hue of the old stucco surrounding it no matter how expertly textured the work is. You need to add a pigmented layer over the whole surface to achieve complete blending of the patch and the existing stucco. Lime washes, pigmented cement, mineral paints, concrete paints, and stains are other suitable coatings that can be used. Whenever you choose the coating you would like to use, make sure it is water-vapor-permeable and alkaline resistant. Without this it will not take much time to start peeling off.
The Steps Taken in the Stucco Repair
First Step: Take any loose stucco off the wall
Take the loose stucco off while taking caution not to hurt the internal timber lath foundation with a cold chisel and a hammer or just the hammer itself. Be sure to wear some sort of eye protection during the process. Proceed until you hit the stucco that holds to the lath securely. With cutters, remove any of the exposed metal mesh.
Second Step: Cover the lath that is now exposed
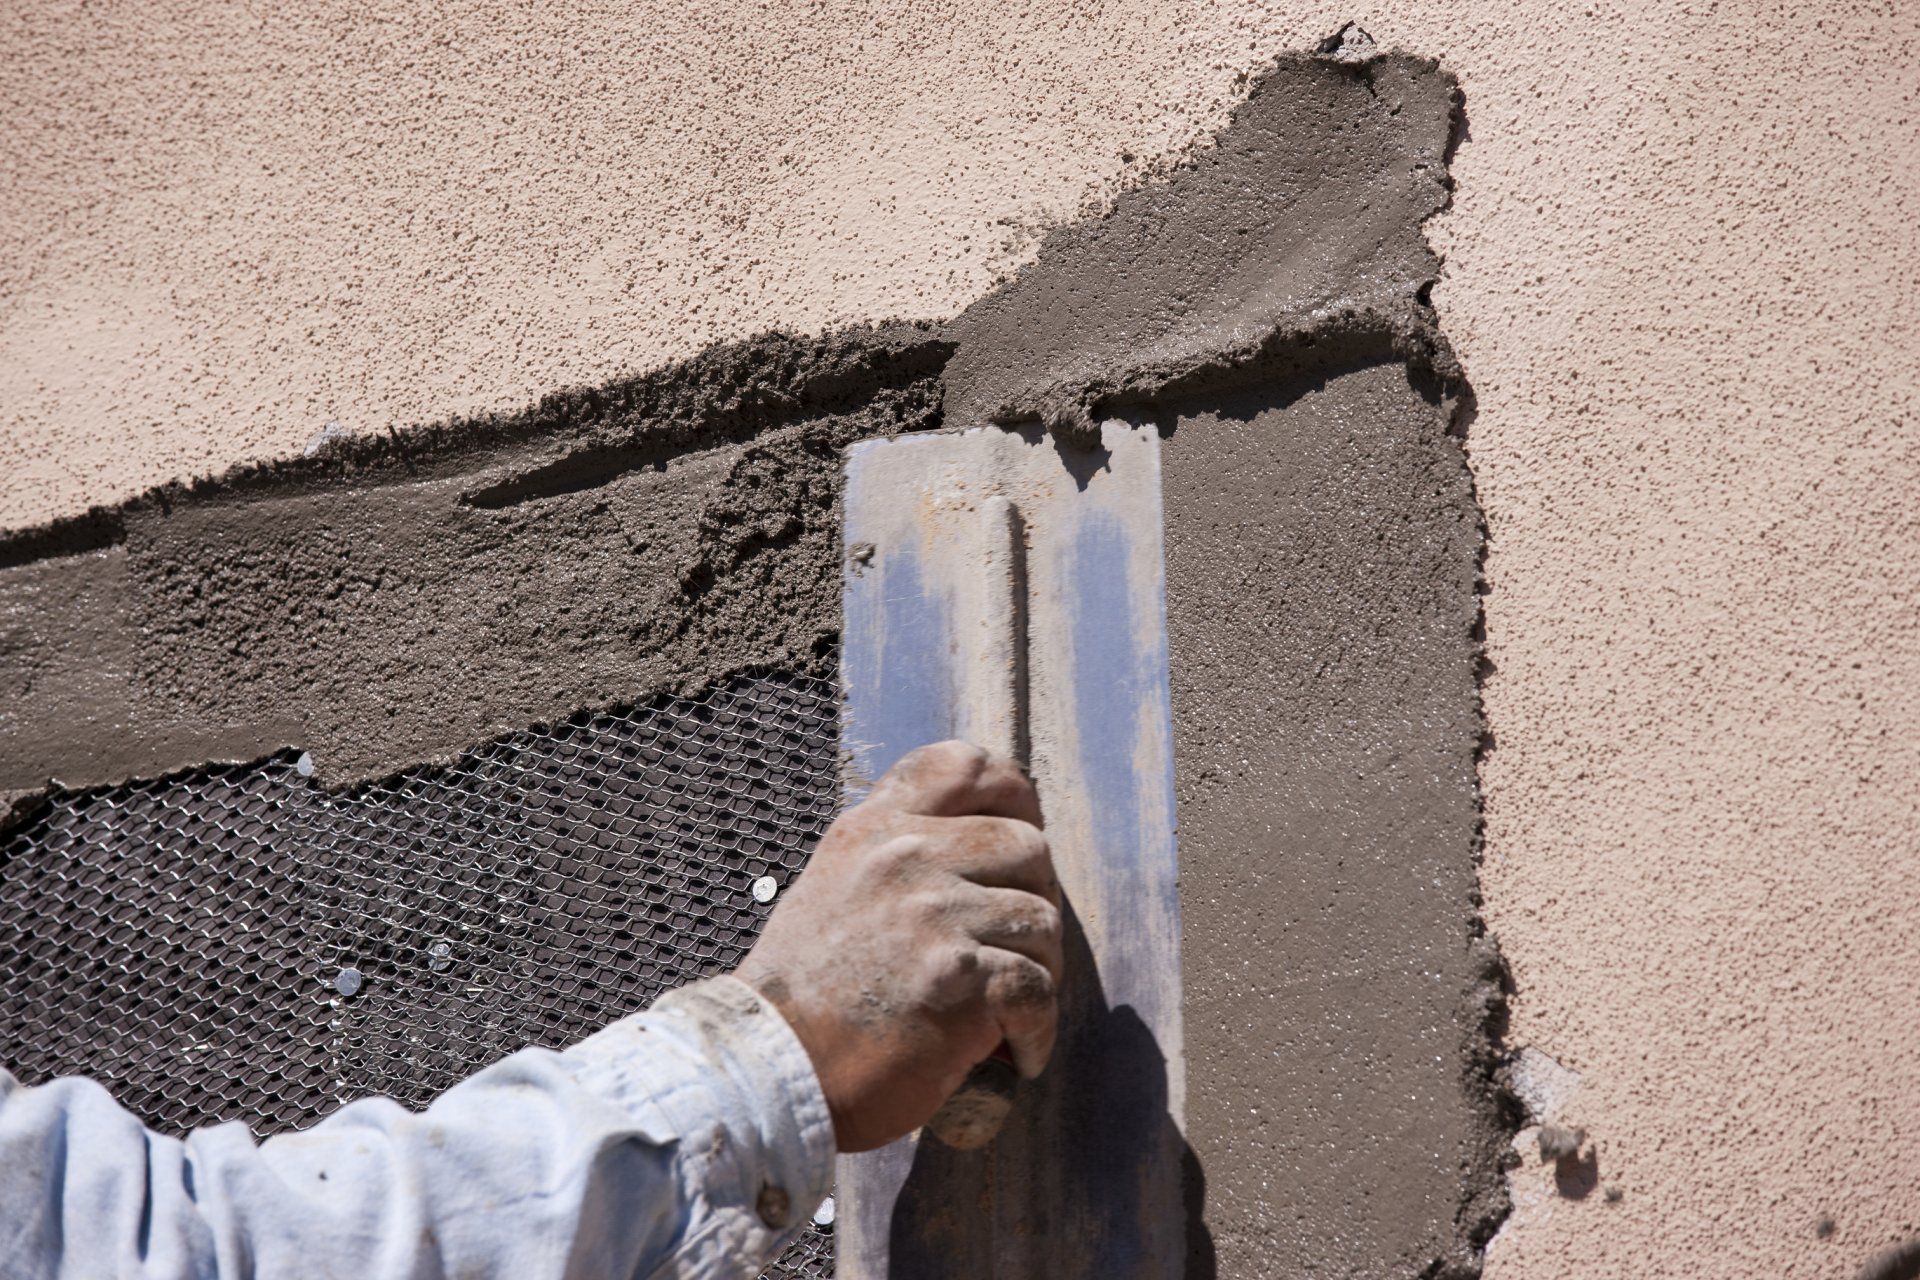
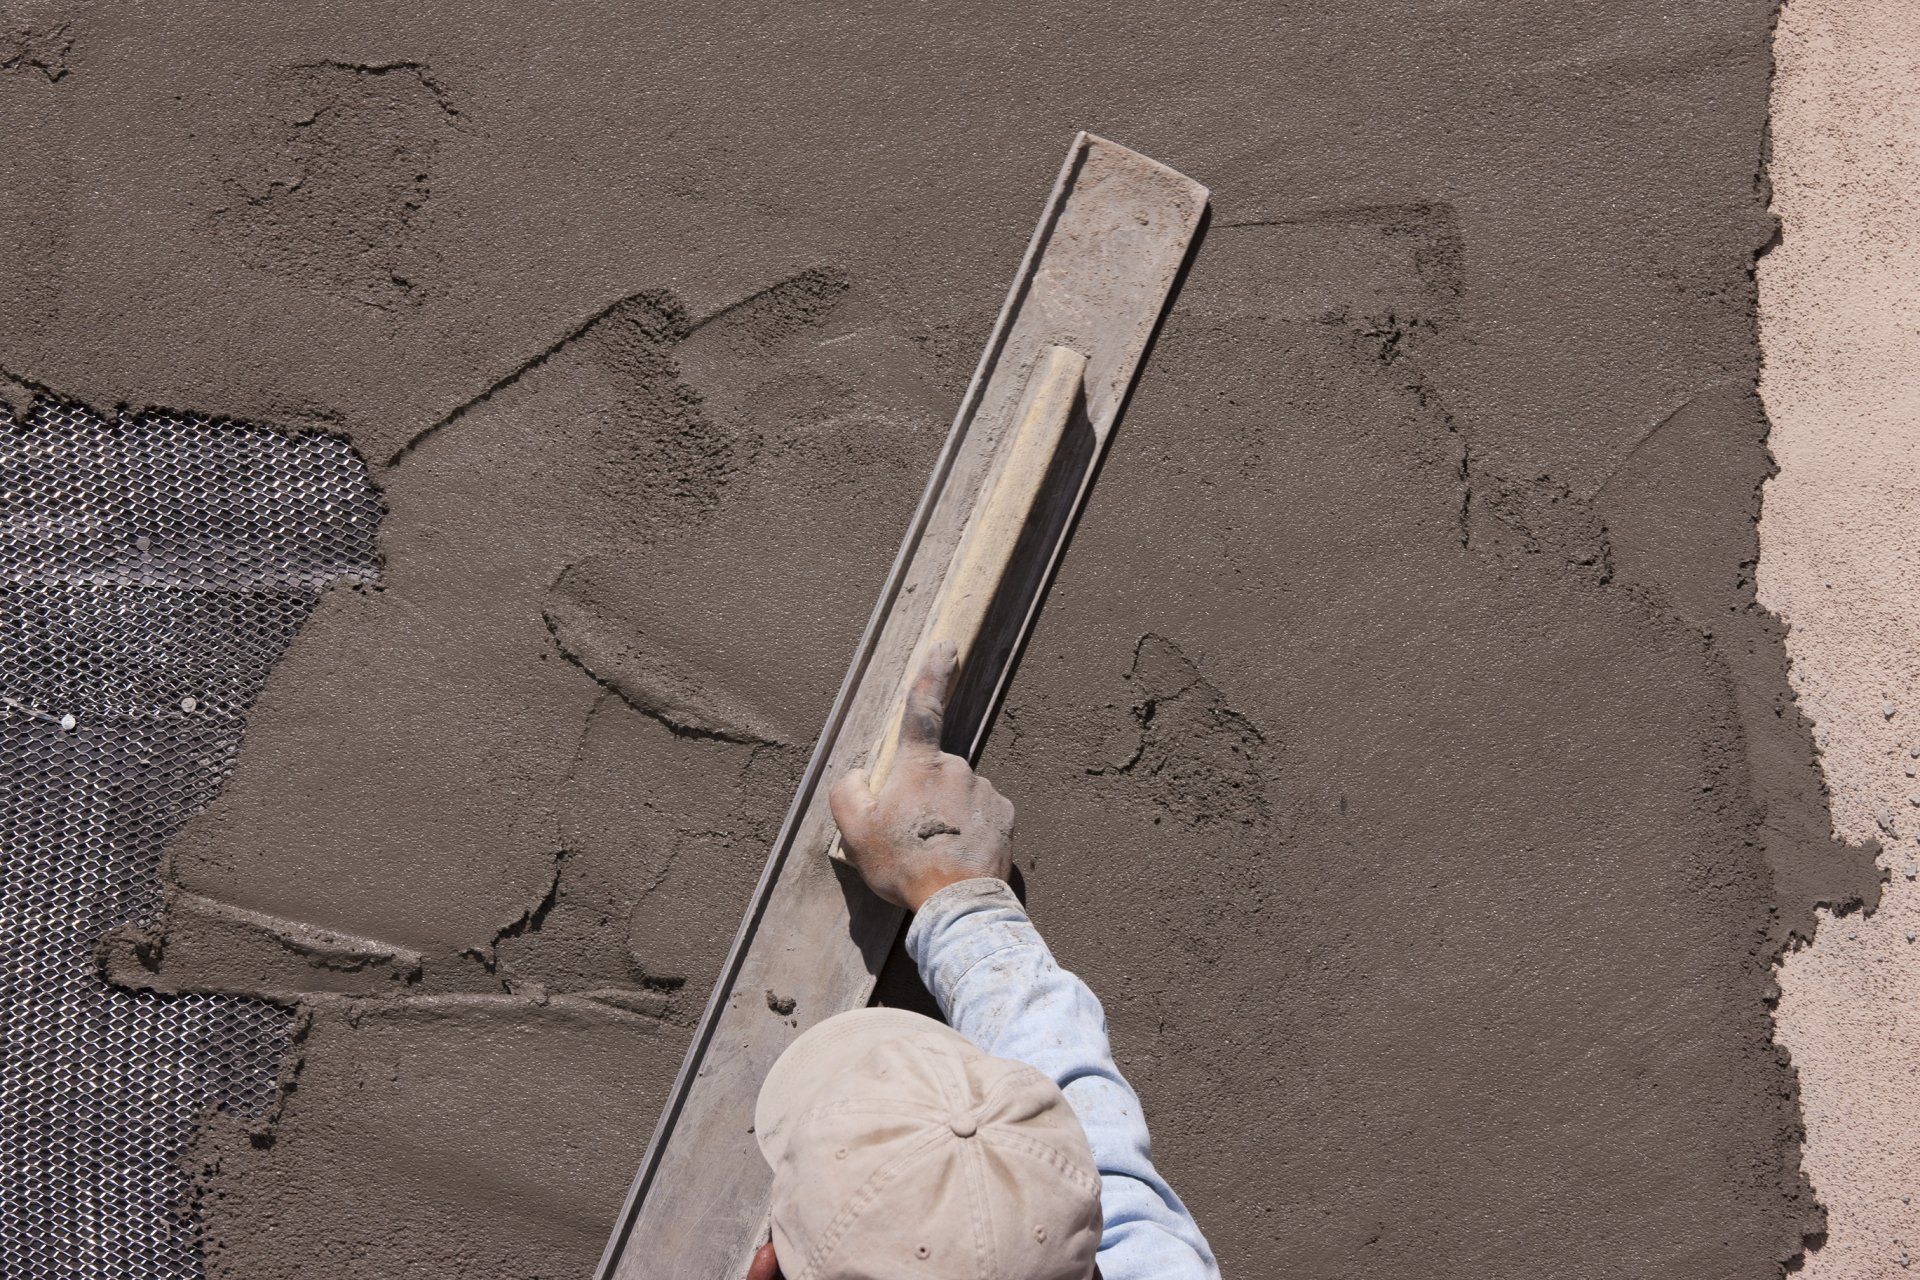
Cut a sheet of grade-D builder's paper using a utility knife to ensure it snugs up closely around the border at which the old stucco touches the now showing wood lath. Use roofing nails to attach the paper to the lath and place a second sheet of paper on top of that. Place the galvanized metal mesh on the paper and closely trim it to the stucco's side. This task can be made simpler by using cutters with offset handles. Push more roofing nails into the lath through the mesh.
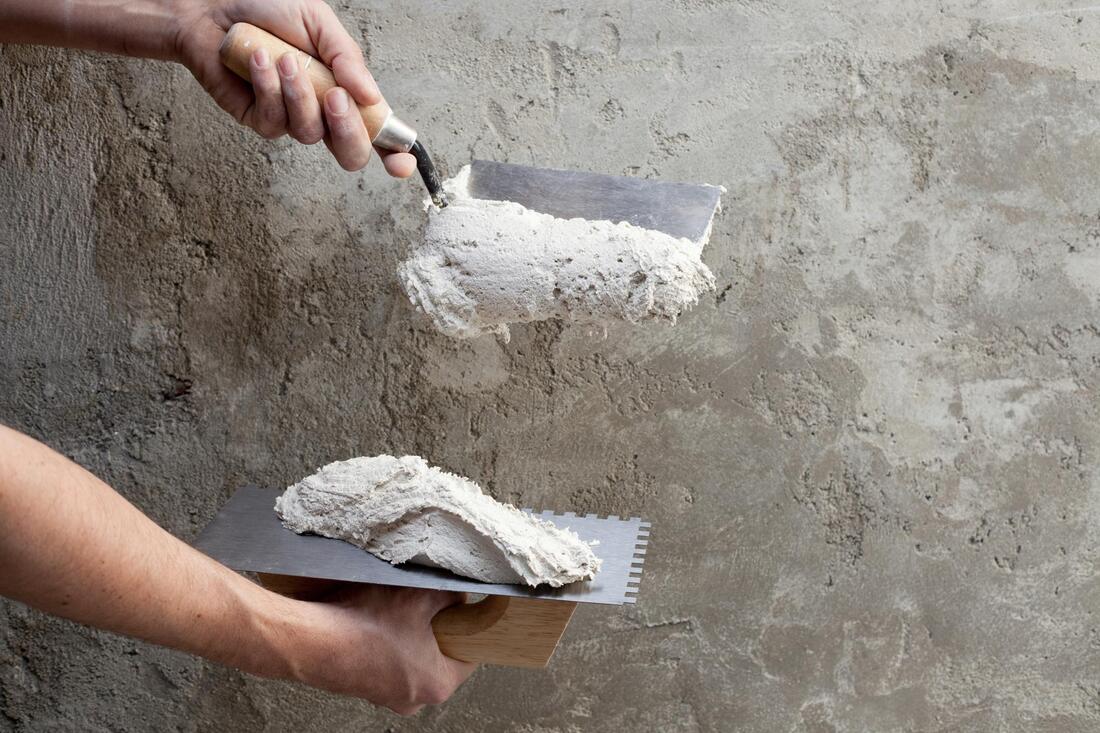
Third Step: Mix and add the stucco to the wall
Make your first batch of stucco, using a wheelbarrow to mix in, and following the recipe for the first coat mentioned below. The acrylic adhesive applied to this combination strengthens the new stucco's binding to the old layer. Now that it is mixed moisten the old stucco's edge so that it will not draw moisture out of the new patch and break the old to new bond. Scoop on a brick trowel about baseball sized chunks of the damp stucco and throw it against the wire lath until it is fully hidden. Use a finishing trowel to smooth the blend and then pack it with a brick trowel up to the side of the current stucco. Continue adding more product until the original stucco siding is about a half inch below this layer. The final step to this first layer is to scratch the surface as soon as it loses the fully wet shine which helps the next layer attach. Once this is finished put up a sheet of plastic over the repair to keep it from getting to dry.
Fourth Step: Second coat of stucco
After waiting for seven days, take off the plastic sheet and spray the area with a little bit of water. Now use the recipe for the second coat to mix up a batch of new stucco and starting from the bottom and going upwards apply a 3/8-in coat. Then use a brick trowel to pack down the seam. Wait until the wet shine fades, then use your trowel to spread it smooth until just below the present stucco mark. Now cover with a layer of plastic once again.
First Batch Recipe
- Six shovelfuls of mason or brick sand that is mildly moist
- 1 hydrated lime shovelful
- One half cup of bonding agent that is made of acrylic
- One half bag of Portland Cement
Mixing Instructions
- Use a shovel to add the dry materials and combine them using a mortar hoe into a wheelbarrow.
- Mix in the acrylic binder and slowly add in water until the mixture looks and has buttercream frosting consistency.
- If more water is added than the mix needs it will make the stucco unworkable as it will be too loose
- When water is applied you will have about thirty to ninety minutes to use the mixture before it begins to stiffen.
Second and Final Batch Recipe
Use the same recipe as the first batch but change the six shovelfuls of mason sand to eight shovelfuls of concrete aggregate sand and follow the same mixing instructions.
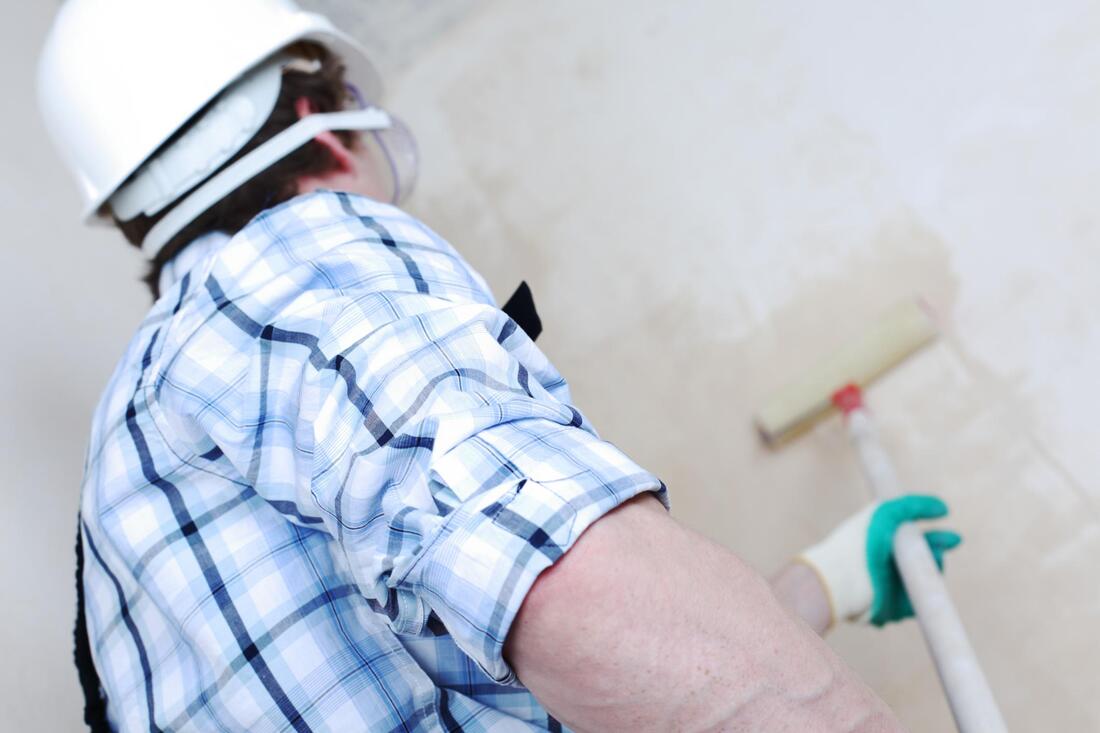
Final Step: Finish coat application and paint
Make a fresh mixture of stucco using the final batch recipe after waiting three days from when the second layer is applied. Then take down the plastic sheet and spray the repair with a little water to moisten it. There are many different textures that require various techniques to apply. I will not get into all of those here as there are many, but you can look up videos on how to do it for the texture you want.
Before painting the patch and the remainder of the wall, let the patch rest for a week. If you use a heavy-bodied acrylic elastomer, you will not even notice the repair even happened and it will look good as new. Now you know how the process of stucco repair works and what to do if you are a DIY type of person and want to complete it yourself. For those who would rather a professional stucco contractor handle the work then give us a call or fill out the form to get your free instant quote.
